How can you create a gradient border effect around a button using CSS only?
If you’ve ever wondered how to create a gradient border effect around a button using CSS only, without images, without extra wrappers, and without JavaScript — this guide will walk you through multiple professional techniques step by step.
We’ll cover:
- ✅ Modern
border-imagemethod - ✅ Background + padding trick (most popular)
- ✅ Pseudo-element approach (most flexible)
- ✅ Animated gradient borders
- ✅ Hover effects
- ✅ Production-ready examples
This is a full deep dive.
Why Gradient Borders Are Tricky in CSS
CSS does not directly support:
border: linear-gradient(...);
That simply doesn’t work.
So to create a gradient border effect around a button using CSS only, we need clever workarounds.
Method 1: Using border-image (Simple but Limited)
This is the most straightforward method.
HTML
<button class="gradient-btn">
  Click Me
</button>
CSS
.gradient-btn {
  padding: 12px 30px;
  font-size: 16px;
  background: white;
  border: 4px solid;
  border-image: linear-gradient(45deg, #ff6b6b, #5f27cd) 1;
  border-radius: 8px;
  cursor: pointer;
}
How It Works
border-imageallows you to use a gradient as the border.- The
1means slice value. - The gradient gets applied to the border area.
Pros
✔ Simple
✔ Clean
✔ No extra elements
Cons
❌ Border-radius support can be inconsistent in older browsers
❌ Hard to animate
This method works, but it’s not the most flexible.
Method 2: The Background + Padding Trick (Most Popular)
This is the professional technique used in modern UI design.
We simulate a border using multiple backgrounds.
HTML
<button class="gradient-border-btn">
  Gradient Border
</button>
CSS
.gradient-border-btn {
  padding: 12px 30px;
  font-size: 16px;
  border: 2px solid transparent;
  border-radius: 8px;
  cursor: pointer;
  background:
    linear-gradient(white, white) padding-box,
    linear-gradient(45deg, #ff6b6b, #5f27cd) border-box;
}
🔍 What’s Happening Here?
We are using two backgrounds:
1️⃣ First background:
linear-gradient(white, white) padding-box
This fills the button content area.
2️⃣ Second background:
linear-gradient(45deg, #ff6b6b, #5f27cd) border-box
This fills the border area.
And because the border is transparent:
border: 2px solid transparent;
The gradient shows through.
That’s the trick.
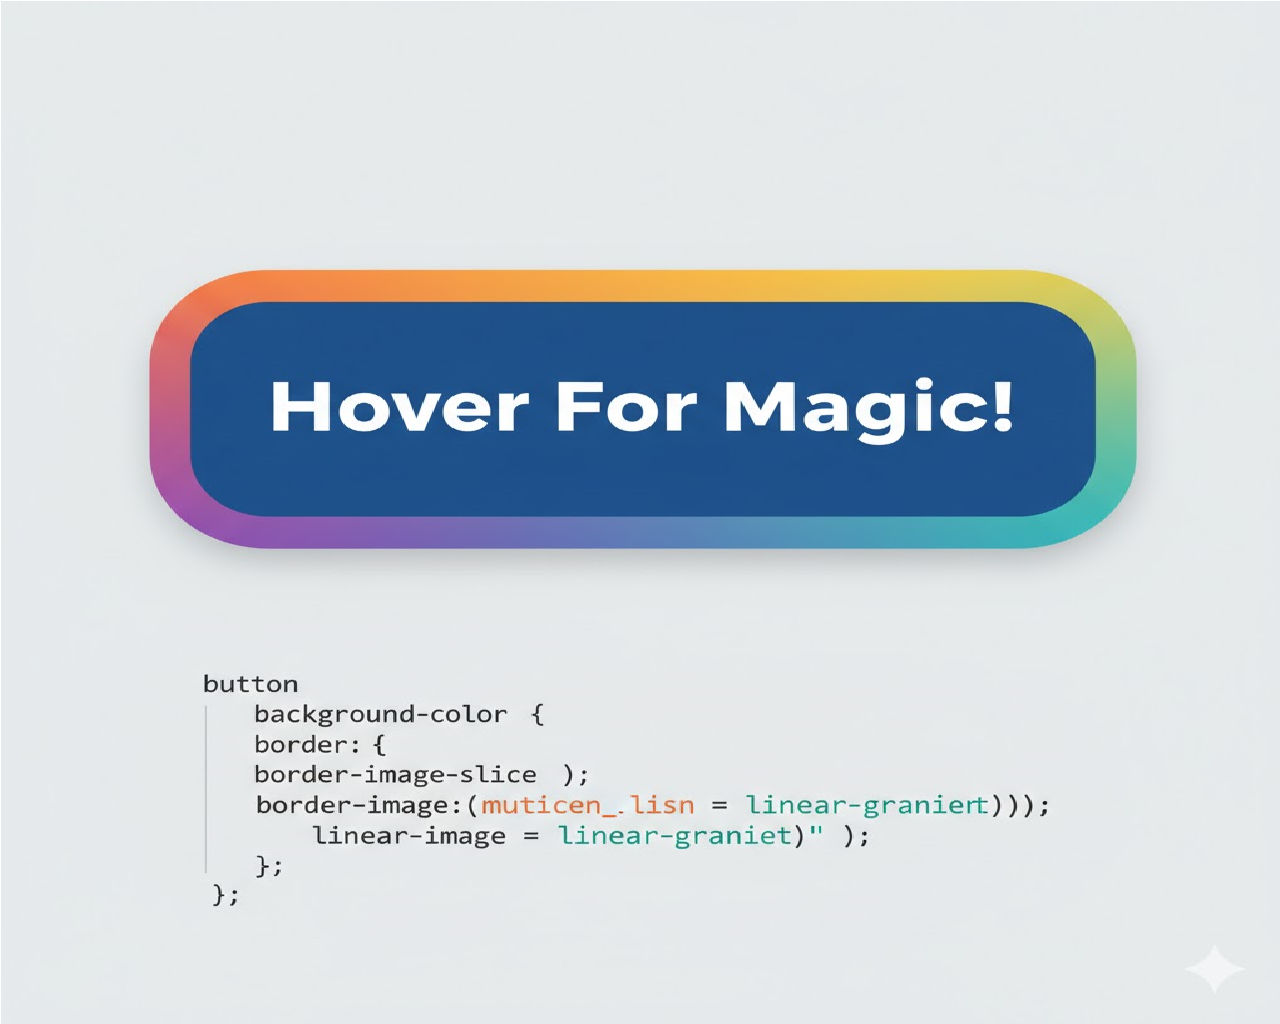
Making It More Stylish
Let’s improve the button.
.gradient-border-btn {
  padding: 14px 35px;
  font-size: 16px;
  font-weight: 600;
  border: 2px solid transparent;
  border-radius: 50px;
  cursor: pointer;
  color: #333;
  transition: all 0.3s ease;
  background:
    linear-gradient(white, white) padding-box,
    linear-gradient(90deg, #ff9ff3, #f368e0, #ff6b6b) border-box;
}

.gradient-border-btn:hover {
  color: white;
  background:
    linear-gradient(90deg, #ff9ff3, #f368e0, #ff6b6b) padding-box,
    linear-gradient(90deg, #ff9ff3, #f368e0, #ff6b6b) border-box;
}
Now:
- Normal state → white inside
- Hover → fully gradient button
Very clean UI effect.
Method 3: Using ::before Pseudo-Element (Most Powerful)
If you want full control, animations, glow effects — this is the best approach.
HTML
<button class="pseudo-btn">
  Fancy Border
</button>
CSS
.pseudo-btn {
  position: relative;
  padding: 14px 30px;
  font-size: 16px;
  border: none;
  background: white;
  border-radius: 10px;
  cursor: pointer;
  z-index: 1;
}

.pseudo-btn::before {
  content: "";
  position: absolute;
  inset: -3px;
  border-radius: 12px;
  background: linear-gradient(45deg, #ff6b6b, #5f27cd, #48dbfb);
  z-index: -1;
}
How This Works
::beforecreates a layer behind the button.inset: -3pxexpands it outside the button.- The gradient becomes the border illusion.
This method gives maximum flexibility.
Creating an Animated Gradient Border
Now let’s level this up.
HTML
<button class="animated-border-btn">
  Animated Border
</button>
CSS
.animated-border-btn {
  position: relative;
  padding: 14px 30px;
  font-size: 16px;
  border: none;
  background: white;
  border-radius: 12px;
  cursor: pointer;
  z-index: 1;
  overflow: hidden;
}

.animated-border-btn::before {
  content: "";
  position: absolute;
  inset: -3px;
  border-radius: 14px;
  background: linear-gradient(
    90deg,
    #ff6b6b,
    #feca57,
    #48dbfb,
    #5f27cd,
    #ff6b6b
  );
  background-size: 300% 300%;
  animation: gradientMove 4s linear infinite;
  z-index: -1;
}

@keyframes gradientMove {
  0% {
    background-position: 0% 50%;
  }
  100% {
    background-position: 300% 50%;
  }
}
🔥 Now you have a continuously moving animated gradient border.
Method 4: Using mask for Clean Cut Borders (Advanced)
For ultra-clean professional UI work:
.mask-btn {
  padding: 14px 30px;
  font-size: 16px;
  border-radius: 12px;
  background: linear-gradient(45deg, #ff6b6b, #5f27cd);
  color: white;
  border: none;
  -webkit-mask:
    linear-gradient(#000 0 0) content-box,
    linear-gradient(#000 0 0);
  -webkit-mask-composite: xor;
  mask-composite: exclude;
  padding: 2px;
}
⚠️ This has limited browser support but produces very clean results.
Full Production-Ready Example
Here’s a polished modern UI button:
<button class="pro-gradient-btn">
  Get Started
</button>
.pro-gradient-btn {
  position: relative;
  padding: 14px 40px;
  font-size: 18px;
  font-weight: 600;
  border-radius: 50px;
  border: 2px solid transparent;
  background:
    linear-gradient(#fff, #fff) padding-box,
    linear-gradient(135deg, #667eea, #764ba2) border-box;
  cursor: pointer;
  transition: all 0.4s ease;
}

.pro-gradient-btn:hover {
  background:
    linear-gradient(135deg, #667eea, #764ba2) padding-box,
    linear-gradient(135deg, #667eea, #764ba2) border-box;
  color: white;
}
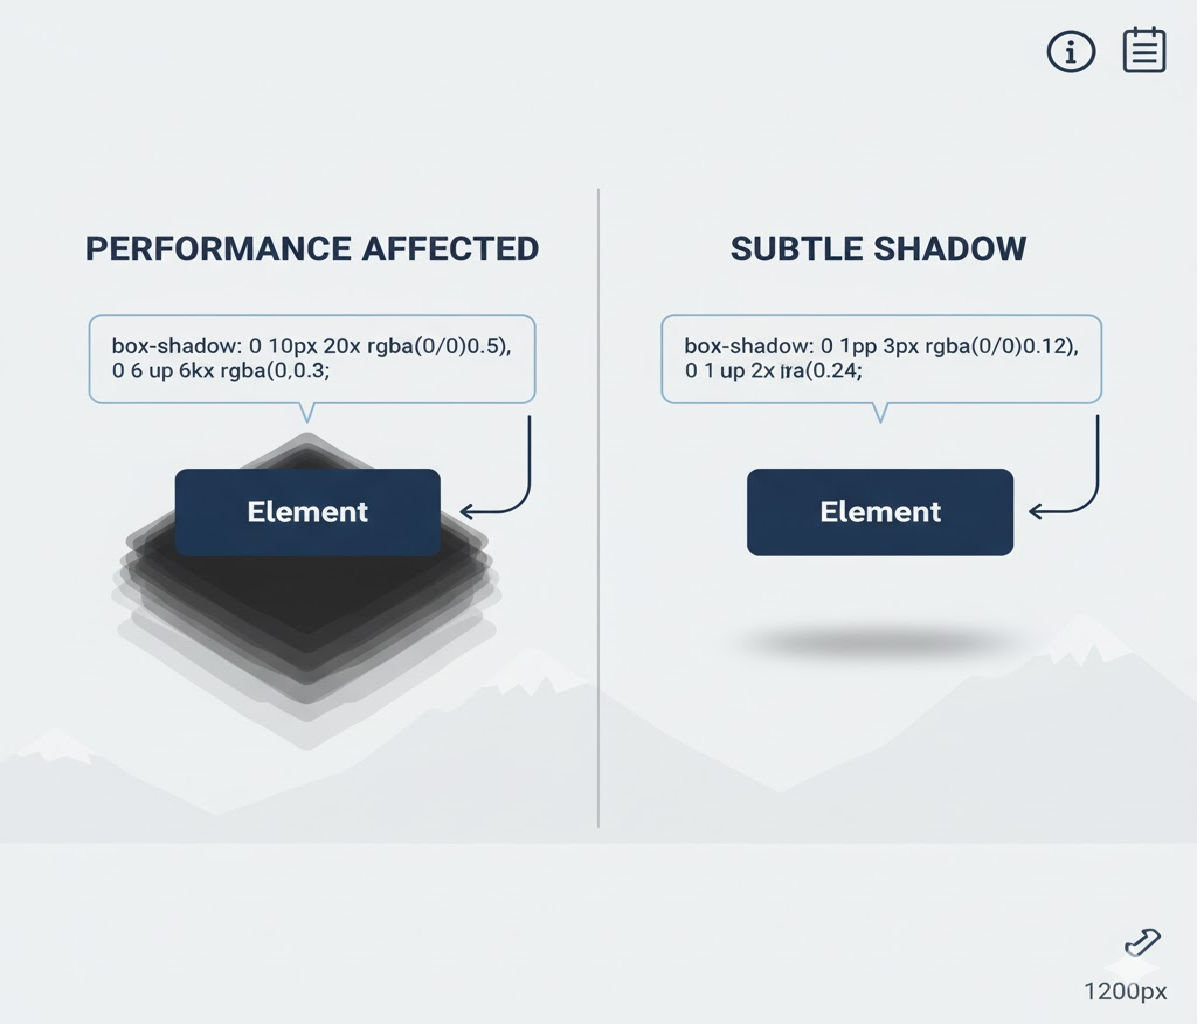
Performance Considerations
If you're building production UI:
✔ Avoid too many animated gradients
✔ Use hardware-accelerated properties
✔ Keep animation duration reasonable
✔ Avoid heavy shadow effects on mobile
Best Method Summary
If you’re asking:
What is the best way to create a gradient border effect around a button using CSS only?
Here’s the answer:
| Use Case | Best Method |
|---|---|
| Simple border | border-image |
| Modern UI | background + padding trick |
| Animated effect | pseudo-element |
| Complex designs | pseudo-element |
Final Thoughts
Creating a gradient border effect around a button using CSS only is absolutely possible — and surprisingly elegant once you understand layered backgrounds and pseudo-elements.
The most professional and flexible solution is the background layering technique or the pseudo-element method.
No images.
No JavaScript.
Just pure CSS power. 💪
Related Posts